Installing AddSearch on Shopify Website (Archive)
Warning: This article describes configuration for legacy ready-made views. Those views have been replaced with modern, easy-to-configure analogues and we strongly recommend using them instead.
See the version of the article for newest views.
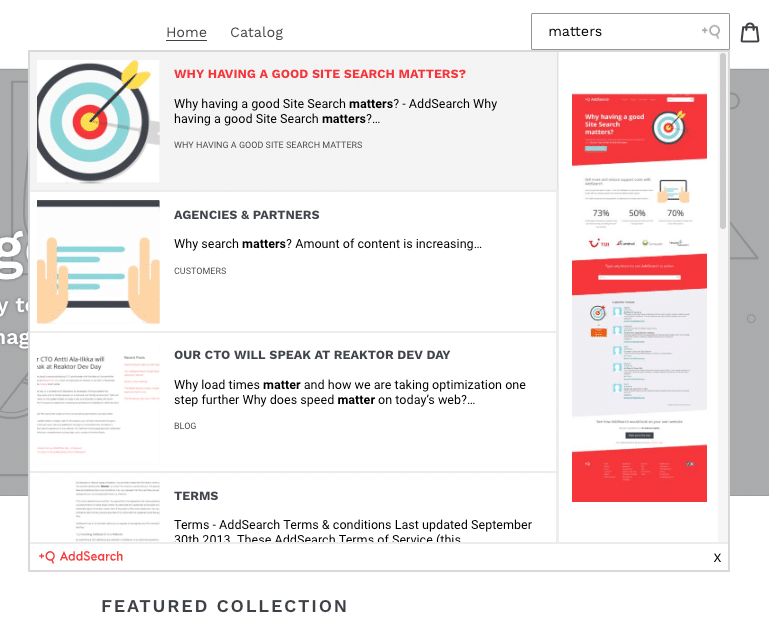
AddSearch is an instant search for websites that displays results immediately, from the first keystroke. The easiest way to implement AddSearch on a Shopify site is to use Addsearch’s Quick method and insert a single line of HTML by putting a Custom Code element on each page where you want to include the search engine.
If you’d like to employ more advanced features like price ranges, filtering, or add-to-cart buttons, our Search UI library does all of this and more. Take a look at our Search UI library documentation here.
Contact us if you need any help using AddSearch with Shopify or if you’d like to discuss a custom design using our Search UI library.
Instructions
Sign up for AddSearch on our homepage. You’ll receive an email with a link to a demo of your search.
The demo page includes the AddSearch installation code. Copy this code to your clipboard. (If you’ve already signed up for AddSearch you can also find this code by logging into the AddSearch Dashboard and clicking Installation.)
The code you need to copy looks like the script below, where SITEKEY is a numerical identifier field for your site:
<script src="https://addsearch.com/js/?key=SITEKEY"></script>
To install AddSearch to Shopify page, follow these instructions:
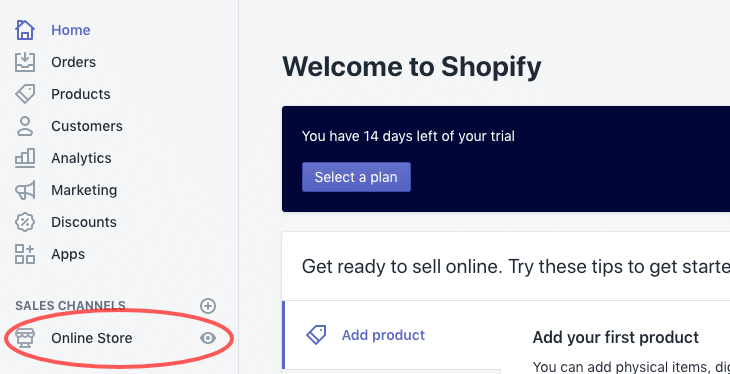
- Log in to your Shopify account
- Click Online Store
- From the Actions drop-down menu click Edit code
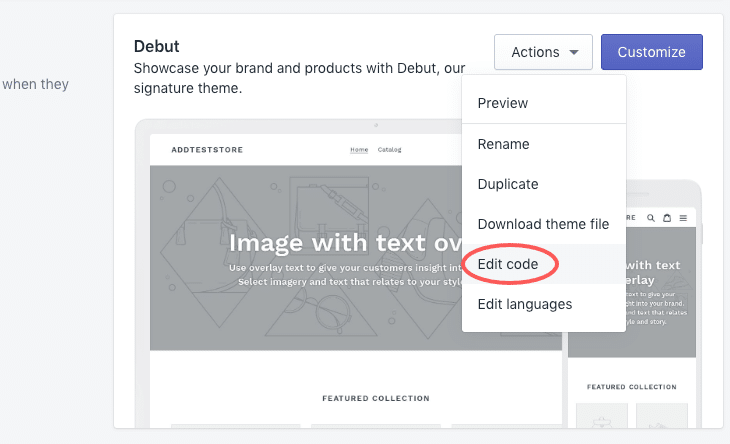
Before installing AddSearch you need to remove the default search from the theme. The search is usually located in the header of the page where the Logo, Menu and Cart are.

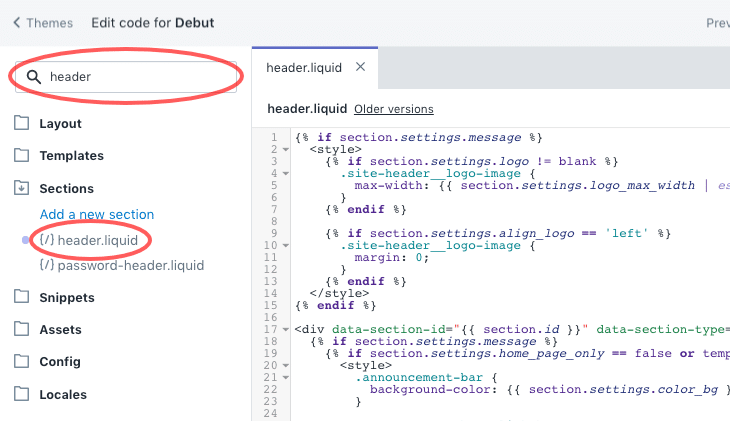
- To edit the header in the Code editor, search for header and open
header.liquidunder Sections
- In the
header.liquidfile locate the code related to the search element
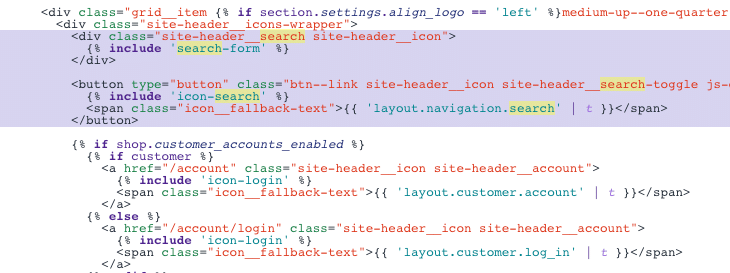
- Replace the default search code with the AddSearch script. Also, replace
####with your site key

- Save changes to the
header.liquidfile and preview the search
Was this helpful?
Need more help?
We’re always happy to help with code or other questions you might have. Search our documentation, contact support, or connect with our sales team.